How To Clean & Restore Rear Lights With A Car Headlight Cleaner
- Why your car’s rear lights oxidise and discolour
- Headlight Restoration Tips
- How to make your oxidised rear lights look new again
- How to remove haze from headlights
- How to prevent future oxidation and preserve the colour of your rear lights
To keep rear lights bright and haze-free, we recommend cleaning the lenses once or twice a year with a lens restoration kit. Once you establish this type of schedule, successive cleanings are quick and easy, requiring almost no elbow grease at all.

What you need to know
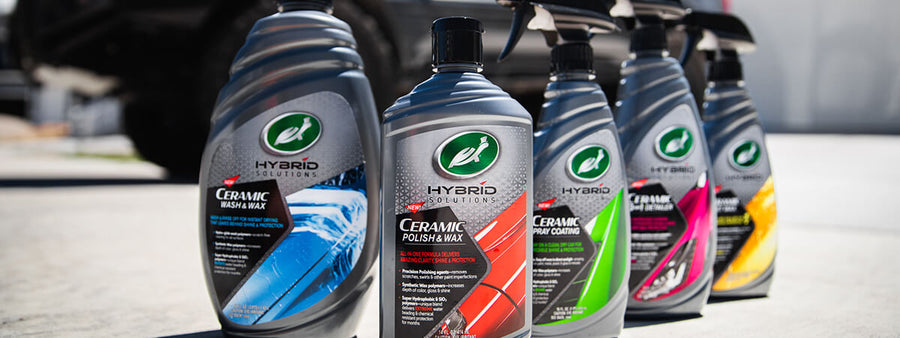
The haze and discolouration you see is oxidation, which is caused by long-term, heavy duty exposure to the sun’s UV rays. The rear light lenses on brand-new cars have a thin layer of UV protection that eventually wears away, leaving the polycarbonate material vulnerable to damage.Restoring rear light lenses simply involves removing the oxidised layer to bring back the original clarity of the light. A lens restoration product like our Speed Headlight Lens Repair & Renew Kit will repair the damage caused by the sun, removing oxidation and even light scratches on the lenses.
This kit does not require a drill as many kits do, and a novice can do both rear lights in 15 minutes or less. All you need is some car wash shampoo, water, microfiber towels and the Turtle Wax restoration kit.

First, wash and dry the rear lights
Removing all the dirt and road film from your rear light lenses will keep you from rubbing abrasive contaminants into the plastic. Simply use warm water and a foaming car wash soap to gently clean the rear light lenses. Once they’re clean, use a garden hose to rinse thoroughly and pat them dry with a clean microfiber drying towel.
Apply the restoration compound
Apply a 2.5 cm drop of the lens clarifying compound to a clean foam applicator pad and rub it into the surface of each rear light lens. The clarifying compound in our kit removes light surface oxidation from rear light lenses. If the lens appears crystal-clear again, you’ve de-oxidised the lens! However, if you notice even the slightest haze remaining on either lens, switch to one of the sanding pads in the kit. These correct moderate to severe damage.Switch to the heavy-grit sanding pad
On the sanding pad, look for the side labelled “number one.” The surface of this pad is much rougher so that it can remove the most stubborn oxidation from your lenses. Using water as a lubricant, rub the rear light lens back and forth with the sanding pad for about 20 seconds. Focus on any areas that appear more heavily damaged. Once all the haze and discolouration are gone, move to the next step.Flip the sanding pad
Turn the sanding pad to the side labelled “number two.” The finer surface of this side will smooth and polish the lens. Using water as a lubricant, rub this side of the pad back and forth on a path that’s perpendicular to the sanding path you just completed. This will create a smooth, uniform finish.
Give your lenses a final polish
Once your rear lights are clear and haze-free, apply the clarifying compound once again. This will bring back the gloss and shine of a new lens. Apply a 2.5 cm drop of compound to a clean foam applicator pad or microfiber cloth using overlapping circular motions. Then, use a clean side of your microfiber cloth to buff away any excess compound.Protect the rear light lens with the included sealant wipes
Lastly, after you’ve restored both lenses, it’s time to protect your rear lights from future oxidation. Our Speed Headlight Restoration Kit includes two types of sealant wipes. You’ll start with the acrylic base coat wipe. Wipe the acrylic sealant across each rear light lens. This sealant should harden within just a few minutes. The curing time may take 5 minutes or so in high humidity.Next, use the second wipe to apply ceramic sealant across each lens. Allow this layer to dry for 3-5 minutes. This tough sealant fights against oxidation to keep your rear lights clear and bright. Once it’s dry, you’re done!
To keep your rear lights looking shiny and new, we recommend cleaning and restoring the lenses once or twice a year. And because you’ve done more to protect the plastic with two coats of sealant, next time will be even easier!