What Is The Right Way To Use A Car Paint Buffer
- How to polish your car’s paint correctly with a paint buffer
- How to prep the paint before you polish
- Which polishing compounds and buffing pads you should use on a car paint buffer
For most beginners, polishing the paint is the most intimidating part of car care. That’s no surprise – using power tools like a dual action car paint buffer on your paint for the first time can be a little scary. Many even avoid this paint correction altogether out of fear they might damage the paint or clear coat further, and so they just continue to live with scratched, swirled or oxidised paint, never polishing or waxing their cars. Or they spend a small fortune to have professional detailers do the work for them.
But fear not, Turtle Wax is here with an easy-to-follow, step-by-step guide for prepping, polishing and buffing your car, with or without a car buffer. With the right, high quality products in hand, after reading this quick article, you’ll have your car looking shiny and new in no time…even if you’re a first-timer!

First things first
The first step to polishing your car isn’t polishing at all. To do the job right, you’ll need to prepare the finish first. As with all exterior detailing jobs, that starts with a thorough car wash.
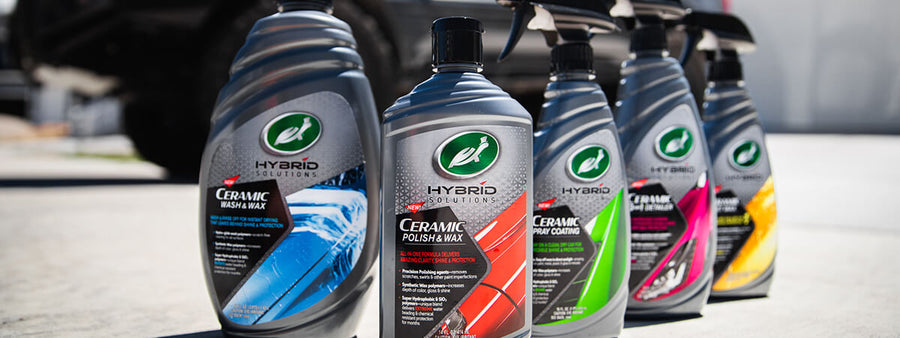
Rinse the car from the top down with a strong stream of water from a garden hosepipe or pressure washer. For a spotlessly clean car, we recommend our Hybrid Solutions Pro Pure Wash. Simply pour the recommended amount into a wash bucket and fill with a strong stream of water to create a thick foam. Using a high-quality microfiber wash mitt, like the MaxShine Clay Mitt, scrub your car clean. Start at the top and work around the car, finishing at the lower panels. Pat dry with a soft microfiber drying towel.
Check the clear coat for tiny, embedded contaminants. With a zippered plastic sandwich bag, glide your hand over the paint all around your car. If you feel any grit or bumps at all, use the clay surface side of the MaxShine Mitt, along with a detailing clay lubricant, to remove these contaminants. Used at its full concentration, our Hybrid Solutions Pro Pure Wash works great as a clay lubricant, too.

Testing, testing…
All clear coats are not created the same. Some are soft and polish easily. Some are hard and require more aggressive products and cutting pads. No matter what, you want to use foam pads with the minimum cutting strength needed to do the job right. This way, you’ll preserve as much of the top layer of your clear coat as you can while still removing scratches and oxidation from the surface.
To determine what your paint finish requires, you’ll need to do a bit of testing. On an inconspicuous part of your car, like a lower door panel, use a light-duty polishing compound and a fine polishing pad to test for results. Polish a small spot and check your work. If you’ve effectively removed all scratches and damage from the clear coat, you’re ready to polish the entire car. If you still see scratches, switch to a medium-duty compound and cutting pad and check again. Continue this test until you see the results you expect. That’s when you’ll know you have the right combination of polish and pad.
With that said, we also have a shortcut for you. Our Hybrid Solutions Pro 1 & Done Compound adjusts its cutting power as you change applicator pads. Instead of needing multiple polishes, you only need one. Just start your testing with a light-duty pad and check your work. Step up to more aggressive pads until you remove all the scratches from the finish.

Onto the easy part
Once you’ve determined the right pad and polish for your car, the rest is easy. You’ll polish the roof and work your way around and down, just like you did with the wash. Work in 60 cm x 60 cm sections and finish with the lower panels.
For beginners, we recommend an affordable, entry-level model. They’re less powerful than professional-grade machines, which can come in handy as you’re learning. If you press too hard, the machine’s motor will stall and prevent you from damaging the clear coat. Just keep the machine working as you buff in a continuous, crosshatch motion.
If you’re doing the job the old-fashioned way, by hand, glide the pad in overlapping circles. You shouldn’t need to apply more than fingertip pressure for beautiful results.
Finally, wipe away any excess polish with a folded, microfiber cloth and buff the surface until it’s brilliant and glossy. Check your work. Some areas may require reapplication until all the scratches have vanished. Continue working in small sections until you finish the entire car.

Protect your work
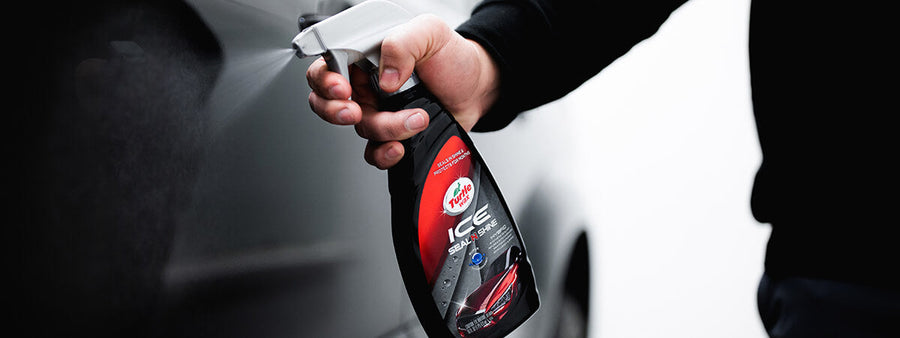
Personally, we’d never polish a car without protecting it afterward. A coating of car wax or paint sealant will not only protect that beautifully restored finish but also the work you just put into it.
For a gorgeous, reflective shine and lasting protection, we recommend our Hybrid Solutions PRO to the Max Wax. Its combination of trusty carnauba wax, durable ceramic polymers and pure, state-of-the-art graphene will keep your car looking great with up to 12 months of protection.
Victory is yours
When you’re all done, step back and admire your handiwork. Restoring the paint to like-new condition was easier than you thought it would be, wasn’t it?
This calls for a cool drink…or better yet, a celebratory drive to show off your beautiful car.